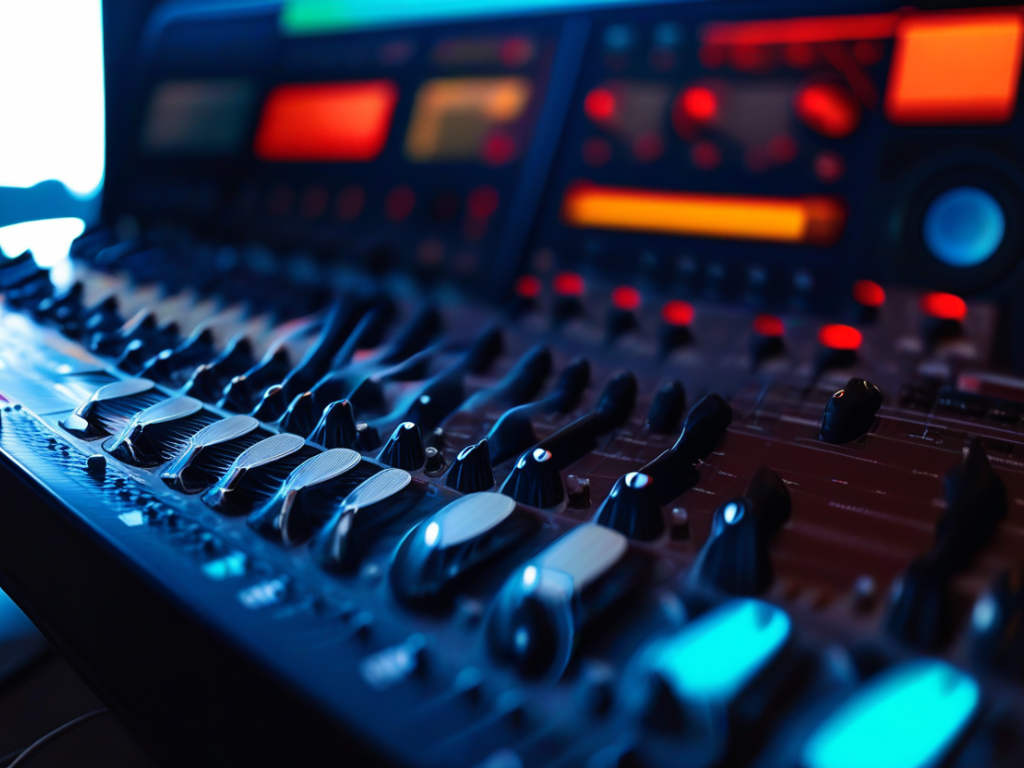
Mastering EQ settings can significantly enhance your music listening experience by fine-tuning the audio output to suit your preferences and optimize the sound quality of your music player. Understanding how to use EQ effectively can make a world of difference in how your favorite tracks sound, bringing out nuances and details that may have been previously overlooked. In this comprehensive guide, we will delve into the intricacies of mastering EQ settings to help you maximize the potential of your music player.
In this article you will find:
- Introduction to EQ
- Understanding Frequency Bands
- Common EQ Presets
- Customizing EQ Settings
- Avoid Over-EQing
- Using Visual EQ Tools
- Conclusion
Introduction to EQ
Equalization, or EQ, is the process of adjusting the balance between different frequency components in an audio signal. By manipulating the levels of specific frequencies, you can shape the tonal characteristics of the sound output. Music players typically come with built-in EQ settings that allow you to customize the audio profile according to your preferences.
Understanding Frequency Bands
Before diving into EQ settings, it’s essential to grasp the concept of frequency bands. The audible frequency range for humans is typically considered to be between 20 Hz and 20 kHz. Different instruments and sounds occupy specific frequency ranges within this spectrum. For example, bass frequencies generally fall below 250 Hz, while treble frequencies reside above 4 kHz.
Common EQ Presets
Many music players offer pre-configured EQ presets such as “Rock,” “Pop,” “Jazz,” and “Classical.” While these presets can provide a quick way to adjust the sound profile, they may not always suit individual preferences or the characteristics of the specific tracks you are listening to. Experimenting with custom EQ settings can often yield more tailored and satisfying results.

Customizing EQ Settings
When customizing EQ settings, it’s crucial to listen to a variety of tracks across different genres to understand how the changes impact the overall sound. Start by adjusting the low frequencies (bass), followed by the midrange frequencies, and finally, the high frequencies (treble). Pay attention to how each adjustment affects the clarity, warmth, and balance of the audio.
Avoid Over-EQing
While EQ can be a powerful tool for enhancing your listening experience, it’s essential to exercise restraint and avoid over-EQing. Excessive boosting or cutting of certain frequencies can lead to unnatural sound reproduction, loss of dynamics, and potential distortion. Aim for subtle adjustments that complement the original recording without altering it beyond recognition.
Using Visual EQ Tools
Some advanced music players come with visual EQ tools that provide a graphical representation of the frequency spectrum. These visual aids can help you visualize the changes you are making to the EQ settings and fine-tune them more precisely. Take advantage of these tools to refine your adjustments and achieve the desired sound signature.
Conclusion
Mastering EQ settings is both an art and a science, requiring a delicate balance of technical knowledge and creative intuition. By understanding the fundamentals of EQ, experimenting with custom settings, and approaching the process with a discerning ear, you can unlock the full potential of your music player and immerse yourself in a rich and vibrant audio experience like never before.

